Original sketch of the Taboo cosplay:

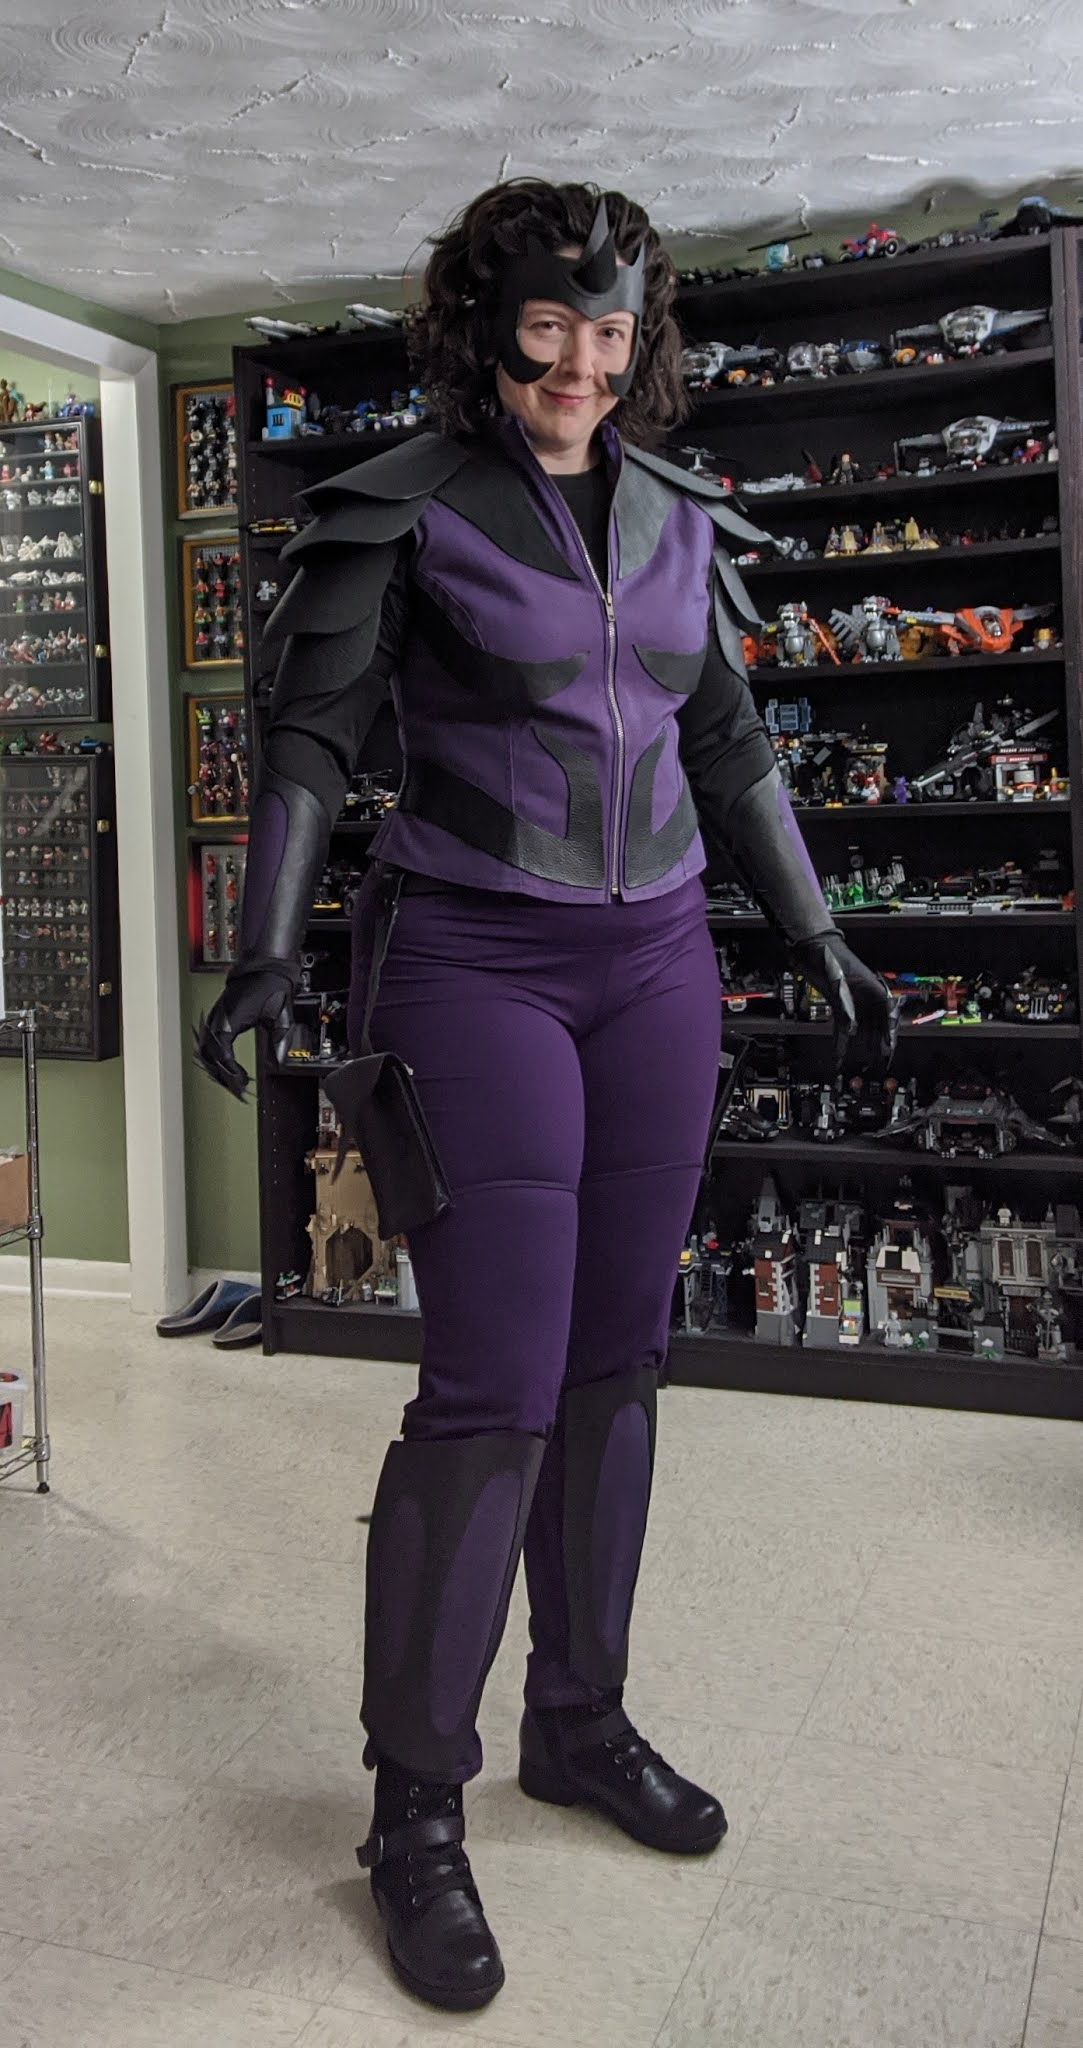
End results:
With the tail functionally made, I needed a way to attach it. I asked a couple cosplayers I know, and they suggested a climbing harness, which looked way too bulky for what I was after. I figured a belt might work, however, and it would also give me a way to carry some bags for con essentials (and break up the boring waist/ thigh area which looked a little bare after everywhere else being armored up). I still had the thick leather from making the Thor belt, so I trimmed that pattern down a bit and made a belt with loops to attach thigh pouches.

I'm not big on buckles, so I figured I'd make it lace closed on the side fronts, giving me a front piece and solid back half. After some tooling, dyeing, buffing, slicking, and hole-punching, I had a reasonable belt base, fitted fairly snugly to my waist and hips.

With some input from the gentleman, I grabbed an electrical junction box lid and drilled a hole in it, then threaded the wire from the tail through the hole and bent the rest of the metal into a figure 8 on the other side of the plate. It seemed to make a fairly sturdy base, so I cut out a leather "pouch" and wetmolded it to the plate shape, then sewed it to the belt. Handsewing leather is a pain in the fingers - all of them - and works much better if all the holes line up. Turns out thumbtacks are a great substitute for pins: they keep both pieces in place, don't move around when you're hammering, and allow the base piece to stay flush with the hammerable surface.

I'll once again spare you the cursing and grumping that goes with handsewing, and just say that it worked out quite nicely:

I purposefully made the pocket tight, so it takes some doing to slide it in and out - shouldn't be any problem with it accidentally coming out while being worn. With the wire figure 8 behind the plate, the tail is held firmly in place and doesn't bounce around too much, and the belt being well-fitted keeps it lined up well with the spine. I glued the wire to the metal plate, which meant all that was left for the tail was actually attaching all the bone pieces.
Still had to solve the "joint" problem on the tail though. The pieces were pretty flat on the ends, so if I bent the tail at all, you'd see the wire. I checked out washers and grommets and even beads, but they were all too stiff - I needed something that would allow the tail bones to flex. On a random whim, I ordered a $2 set of foam hair rollers, and it turned out they work perfectly - cut them down to about 1/4" long and even without gluing them down, they looked like decent "cartilage."

With that problem solved, I cut the top piece down to make sure that the first tailbone visible below the vest was a spiky one, and that the tailbones didn't disfigure the vest too much, then went outside on a not-too-horrible day to glue it all together.

It took some doing, so I got it all nicely bent into a more natural shape, and everything turned out really well. Only one thing left - bags!
I waffled for a while on how sturdy to make them, and eventually went with leather that was thin enough that I could sew it carefully on the sewing machine. Two simple bags with lacing along the bottom to keep them against the legs.

The narrower one is sized exactly to my cell phone, and the larger one is for keys, makeup, safety pins, etc.: emergency stuff. There's no hardware to close them, because they're not meant to attract the eye, and they're level with my hands, so I don't expect pickpocketing to be a huge issue. I sewed some snaps to the leather laces to keep them attached, then looked at how to attach it to the belt. I had some random extra leather strapping lying around, but it was too narrow, and I didn't have enough to make both bags with the straps doubled up.

I ordered 1" leather strapping for that final piece; once that comes in, I'll cut it to length, add snaps to connect it to the belt, and sew it to the pouches. After all the fittings and tweaks, it turned out that the belt was a little too large, so I cut about 2 1/2" off the front piece and redyed and tooled it. Once that dries, I'll burnish the new edges, and this outfit will officially be DONE!
One of Taboo's distinguishing features is her tail, and I already had a pretty spiffy spine full of pointy bits, so I pretty much had to make a tail. A lot of what I'd seen online, though, was thick, fleshy tails made of cloth and stuffing, and that didn't seem right for a whip-like, spiny tail. The online tail tutorials all mentioned using heavy gauge wire for shape and rigidity, so I started looking at beads as a way to thread narrower, bone-like items onto a tail. Couldn't really find anything pre-made that looked decent and wasn't very heavy - I did consider using actual bone at one point, but even 3' of small animal tail bones gets pretty heavy - so I started looking for ways to make it myself.
In my searches, I ran across foam clay, something I'd never heard of before but that looked promising. It's basically a play-doh-like clay, but when it dries, it turns into eva foam - lightweight and flexible. That seemed pretty much like what I was after, so I bought a small tub of it and sat down to work. It takes 2-3 days for the clay to dry, so I had to balance between trying out shapes and sizes vs not taking forever in the trial phase. I made a few shapes, to get the size and general look down, and set them down on the table to dry.


